


Table of Contents
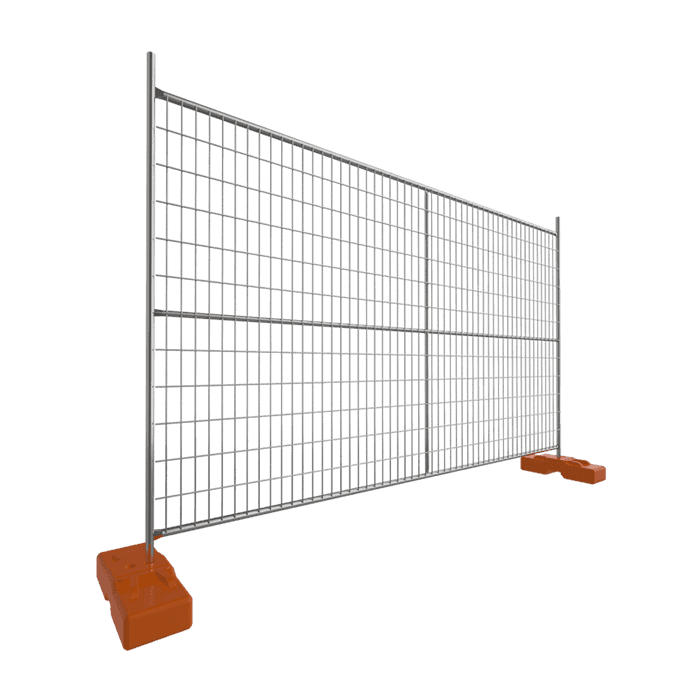
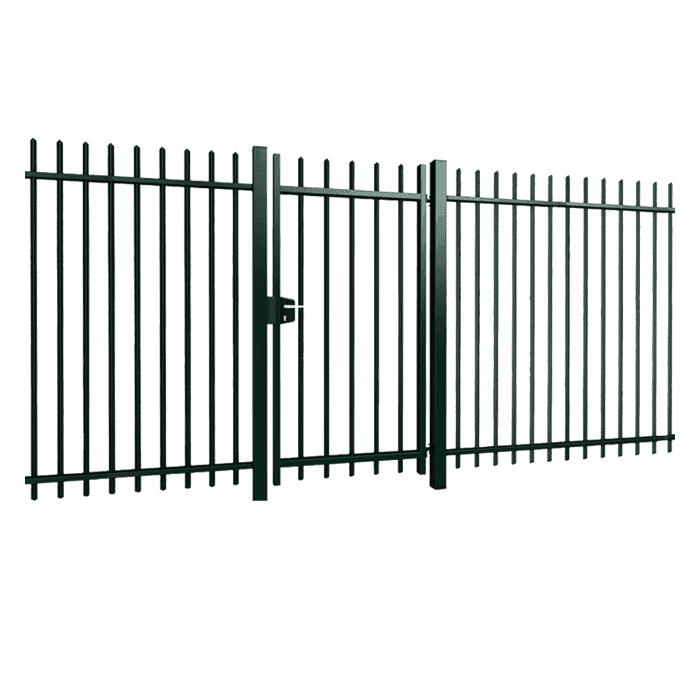
A simple steel post fence looks like the way to go – it will last, it’s a classic, and it will be easy enough to install.
But then you look at those steel posts ready to be sunk into the ground and the thought hits you: ‘Do I really have to cement those posts in place?’
Could you skip the cement and just stick the posts directly into the dirt? Or are there other anchoring options in between?
This is the critical decision every fence builder eventually faces. Unfortunately though, the answer is not always an easy YES or NO.
Keep reading!
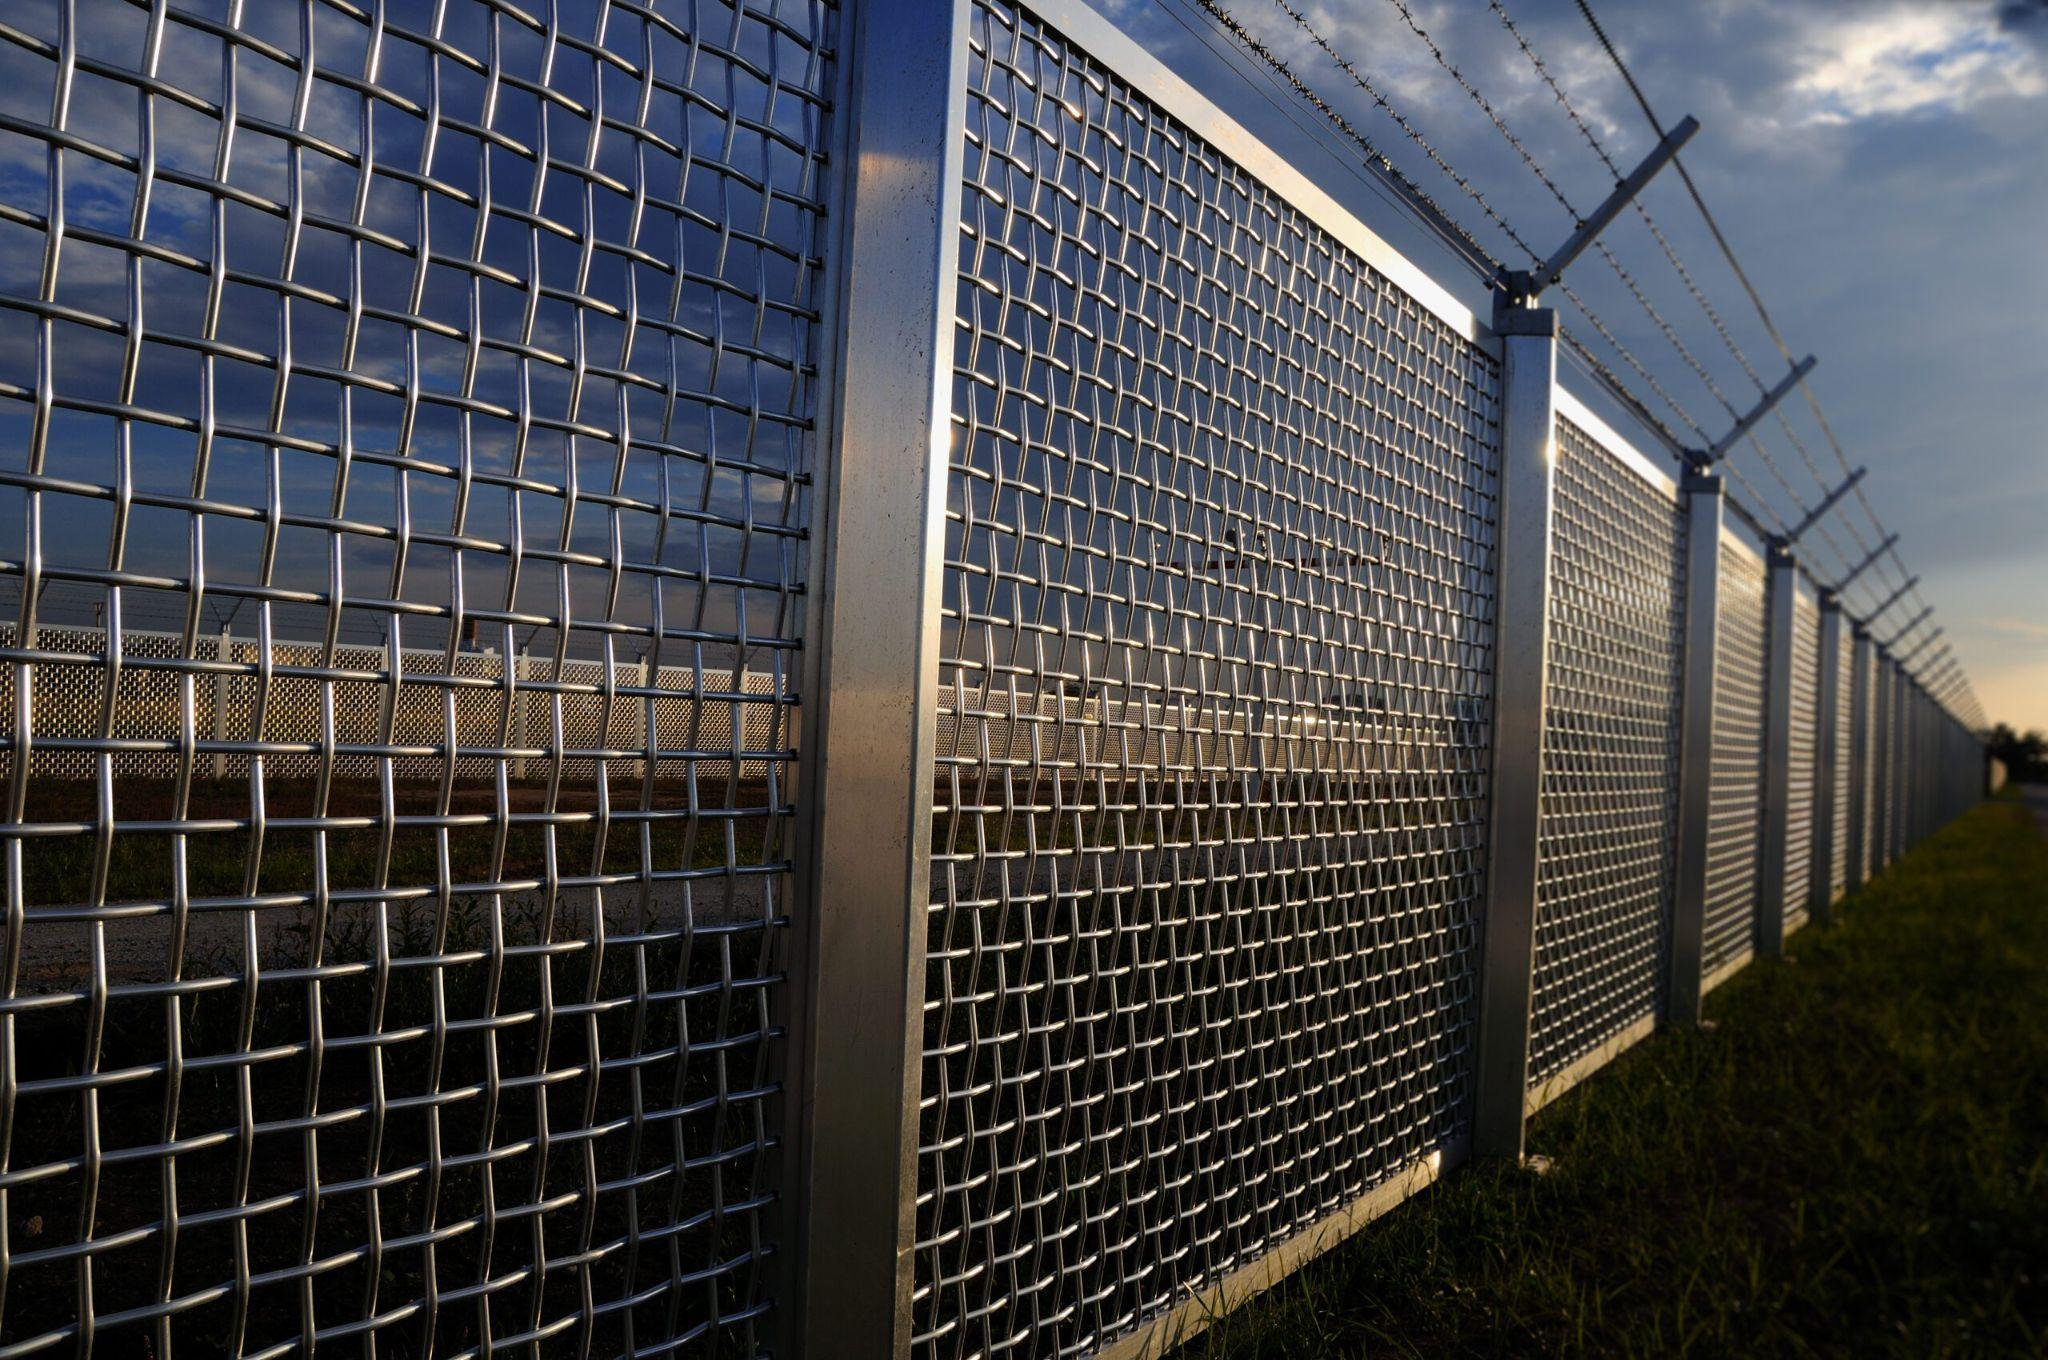
Why Use Cement to Secure Steel Fence Posts?
One of the biggest perks of concrete is the complete, uniform structural support it provides around the entire embedded portion of the post.
Here’s how cement footing excel at keeping posts permanently stable:
1. Even Distribution of Forces
It’s as though you tried to stand upright with someone pushing on your side. You’d topple almost immediately.
But if people evenly spread out and pushed from all directions, you’d have no problem staying put.
That’s exactly how concrete’s uniform support works versus the uneven forces of dirt alone. Concrete completely encapsulates the post, evenly distributing any loads or pressures around its entire perimeter rather than creating concentrated stress points.
2. Optimal Concrete Footing Dimensions
To fully achieve that crucial force distribution, footing size matters. The recommended diameter is around triple the post width.
So for common 4×4 inch steel fence posts, you’d dig holes about 12 inches across. This allows 3 inches or more of concrete on all sides of the 4-inch wide post, sufficient for even load transfer.
More on ideal footing depth and concrete volume a bit later when we get into installation.
3. Locks Posts in Place
Because concrete offers such uniform support, posts cemented in concrete footings remain firmly anchored in their original position for life.
No more posts slowly sinking deeper on one side, or wiggling from kids racing down the fence line! Concrete holds them in a viselike grip against twisting, settling, or leaning.
It also won’t erode or allow the ground below to shift like plain old dirt. Your concrete-secured posts will enjoy lifelong stability thanks to their solid concrete cradle.
4. Wind Resistance
Fierce winds exert incredible lateral loads on fence posts. But concrete footings allow posts to laugh in the face of all but the strongest gale-force gusts.
Engineers found 12-inch concrete secured posts on pergola remained stable in over 150 mph winds – that’s equivalent with Category 2 hurricane speeds!
5. Wind Resistance
Between active kids, stray balls, falling branches, and careless drivers, fence posts take a real beating. Impacts quickly destroy poorly-anchored posts, but concrete absorbs the energy, preventing post damage.
In fact, concrete footings allow posts to stop a speeding car in its tracks without failing. Now that’s serious impact resistance!
6. Pest Protection
Squirrels, gophers, and ants love to dig around lightly-anchored posts, undermining their stability. But concrete footings thwart these sneaky critters, keeping posts solidly in place and untempting to pests.
Pros and Cons of Using Cement for Steel Fence Posts
Pros
For good reason, concrete footings have been the standard for setting fence posts for generations. Here’s why cement has stood the test of time:
Legendary Stability
Fences must withstand tremendous forces from wind, pets, people, and shifting soils. Strong and firm posts are needed to preventing your fence moving about. Concrete is the only material that can provide as much strength in compression without having to deploy supporting columns.
Once fully cured, you can rest assured knowing your posts are absolutely anchored in place. No chance of waking to discover your fence in a pile on the ground!
Moisture Barrier
Besides lending strength, concrete also acts as a protective barrier between the post and the moisture in the surrounding soil.
Under the surface, conditions are ripe for corrosion and decay of the steel. But fully encasing the bottom portion of the post in concrete seals it away from moisture, eliminating the risk of rust or rotting. No more ugly orange streaks or gaping holes in your posts!
Relatively Cheap
Mixing and pouring concrete is relatively straightforward, even for total beginners. Bags of pre-blended concrete like Quikrete make the process fast and hassle-free. Simply add water, stir, and pour. At around $3 to $5 per 50-pound bag, concrete is also one of the most affordable ways to anchor fence posts securely.
Cement checks all the boxes in many regards when it comes to stabilizing your steel fence posts. But cementing is not without downsides…
Cons
Though concrete may be the tried and true classic method, it isn’t necessarily the only viable option for securing metal fence posts.
Here are some reasons you may want to break from tradition and skip the concrete:
Adjustability and Removability
One major downside to cement is permanence. When embedded in concrete, removing or replacing them becomes a time-consuming affair, entailing the tedious work of hitting the concrete around each post with sledgehammers, chisels and brute strength. Non-cement options offer much greater flexibility if you want to change, move or replace fence posts down the road.
Eco-Friendly Installation
In reality, concrete is not the eco-friendliest building material towards the environment as it requires huge amount of CO2 emissions in the production process. If you have green goals for your project, you may want to explore alternative post anchors that are more earth-conscious.
Easier Removal When Decommissioning
Take down an old concrete-encased post, and you’ll spend hours chipping away at rock-hard concrete with chisel and hammer. Alternative anchors allow much simpler demolition when the day finally comes to dismantle your fence.
Appealing Aesthetics
For some homeowners, the visible concrete collar around the base of cemented posts is an eyesore. They prefer the clean, minimalist look of posts seeming to organically rise from the ground rather than being encased in concrete. It’s your fence – go with whatever aesthetic vibe you find most appealing!
Cement isn’t strictly required to stabilize fence posts. Choosing an alternative ultimately comes down to picking the best method for your specific project requirements.
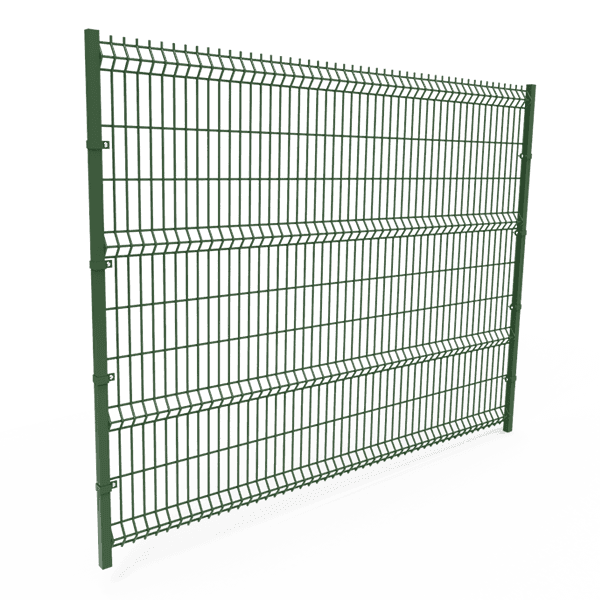
Alternative Methods for Securing Steel Fence Posts without Cement
If you decide cement isn’t the right choice for your installation, don’t think you’re limited to just sticking posts loosely into the ground. You have numerous options for solid, concrete-free anchoring methods!
Gravel or Crushed Rock
This is one of the most popular alternatives to concrete footings. Dig your post holes wider than the post width, then backfill with gravel to surround the bottom portion of the posts. Tamp down the gravel thoroughly. The stone supports the post while also promoting drainage.
Screw-Style Earth Anchors
No digging required! Simply screw these oversized helix anchors into the ground on either side of the post. Attach the post to the anchors with metal braces or brackets. Installation is quick and straightforward.
Concrete Adhesive
Special 2-part adhesive mixes into a poured concrete-like substance that hardened around posts. It provides a solid anchor without fully encasing the post, and allows for removal down the road.
Metal Fence Post Anchors
Steel anchor plates, rods, or brackets buried deep in the earth and attached to the post. Provides stability while remaining adjustable if needed.
As you can see, skipping concrete doesn’t mean you have to sacrifice stability or permanence. Evaluate all the options to choose the best post anchor for your specific needs.
But When to Consider These Alternatives Anyway?
Here are the key factors to consider:
Soil Conditions
The natural composition and density of the soil on your property will impact how well posts can be secured directly in the ground versus in concrete. Loose, sandy soils provide less gripping power. But dense clay earth can often hold posts surprisingly firmly on its own.
Wind and External Forces
If your yard is situated in an area with frequent heavy winds or extreme weather, concrete footings are highly recommended for keeping posts stable through storms. But if wind load is minimal, you may get by just fine without cement anchors.
Permanence Preferences
Think ahead to whether you may want to reposition or replace any posts down the road, and choose your anchor accordingly. Concrete makes post modifications extremely difficult. Non-cement options are better if flexibility is a priority.
Eco-Friendliness Goals
A green-minded household is unlikely to resort to concrete due to its high carbon footprint, favoring instead a gravel base (which permits evaporation), screw anchors (as above) or direct contact with the soil.
Aesthetic Tastes
Some homeowners don’t like the visible concrete at the foot of cementing posts. Other people like the clean look of posts coming up from the dirt without any apparent post foot present. Which aesthetic do you prefer?
If at the end of the day you can objectively weigh the concrete factors of soil, climate, permanence and style, then you can make an optimal decision about whether to cement your fence or not.
Steps to Install Steel Fence Posts with Cement
Once you’ve done your homework and decided concrete is the ideal choice for your installation, let’s walk through the process step-by-step to ensure proper placement:
Step 1: Mark the Post Locations
Mark out where your posts should go using stakes and string lines. Space the posts according to your fencing frame, and make it look good.
Step 2: Dig the Holes
Remove your tape measure or string and then grab that post hole digger or auger and start digging the hole at each location. Dig at least 1/3 to 1/2 of desired post height. For instance, dig 2-3 feet deep for a 6 foot fence post.
Step 3: Add Gravel
Once dug, put 6 inches of gravel or crushed stone in the bottom of each hole. The layer of gravel under the concrete promotes drainage.
Step 4: Stand the Post
Place your steel post centered in the hole atop the gravel. Have a helper hold it plumb and in position while you pour the concrete.
Step 5: Mix the Concrete
In a wheelbarrow or mixing tub, blend the dry concrete with water per package directions to achieve an even, pourable consistency. The right mix should coat a shovel but still slide off easily.
The volume calculation is straightforward:
Hole Volume = π x (Radius)2 x (Depth)
Plug the hole dimensions into this formula to get the cubic foot quantity required.
Let’s break it down in a real example:
For a typical 12″ diameter x 24″ deep hole to anchor a 4×4″ post:
- Radius = 6″
- Depth = 24″
Volume = π x (6″)2 x (24″)
= 3.14 x (36) x (24)
= 3.14 x 864
= 2.72 cubic feet
That’s all there is to it! Now just divide by the concrete bag size to get the number of bags needed per hole.
Step 6: Pour the Concrete into the Holes
Shovel or pour the freshly blended concrete around the centered post. Completely fill the hole so concrete contacts the full surface of the below-ground portion.
Step 7: Level and Plumb the Post
Use a level on adjacent sides of the post to check that it remains perfectly plumb and vertically aligned as the concrete begins to set around it. Make any minor adjustments immediately.
Step 8: Allow the Concrete to Cure
Leave the post fully undisturbed for at least 24-48 hours to allow the concrete to fully cure and harden before stressing or hanging anything from the post.
Step 9: Finish Fence Installation
Once the concrete has fully cured, you can complete the fence installation:
- Attach rails, panels, or other fencing materials to the posts with appropriate hardware. Follow the fencing manufacturer’s instructions for proper assembly.
- For extra strength, brace end and corner posts with diagonal cross-braces back to adjacent posts in the fence line.
- Gates can be hung directly on end posts anchored in concrete. Ensure hinge hardware is rated for the gate size and weight.
- Seal any exposed concrete with a masonry sealer to prevent moisture penetration and extend the longevity of your concrete work.
Step 10: Make It Straight and Sturdy
As you install the fencing, be vigilant about:
- Checking post alignment frequently and adjusting before moving on. Crooked fence lines are an instant giveaway of DIY rather than pro work.
- Securing all connections tightly, but avoiding over-torquing hardware or damaging materials.
- Measuring and cutting precisely to avoid mismatches or gaps in the finished fence.
Taking great care during the full installation process will result in a professional-quality fence that will stand straight and sturdy for decades to come.
Common Mistakes When Using Cement for Steel Fence Posts
Setting posts in concrete is relatively straightforward, but mistakes still happen. Be on guard against these common pitfalls:
Insufficient Mixing – Dry clumps and uneven water content? That means a trouble. Thoroughly blend cement and water to a uniform, lump-free consistency.
Rushing the Curing – Impatience leads to weaknesses! Resist the urge to start on the fence right away. Let the concrete fully cure over several days.
Skimping on Concrete – Trying to save a little cash on concrete means air pockets around posts. Calculate precisely how much concrete each hole requires.
Sloppy Workmanship – Messy pour results in drips and globs marring the finished look. Carefully pour and trowel for smooth, pro-quality results.
Misaligned Posts – Failing to check alignment as the concrete cures can lead to tilted, crooked posts once fully set.
Be patient, then you can avoid common mistakes and end up with perfectly placed fence posts set rock-solid in concrete.